
LEAVENWORTH PAINTING · KANSAS
Interior painting in Leavenworth, priced room by room
Leavenworth Painting paints interior walls, ceilings, trim and doors in Leavenworth, Lansing and the surrounding county. A good interior job starts with the surface: sound drywall, old plaster, stained woodwork and a water-marked ceiling need different preparation. The quote should explain those differences, separate the surfaces being painted and give you a workable room-by-room plan.
Want a number before the walk-through? The instant interior estimate builds a planning range from your rooms. Below, you can follow one room through the math, compare preparation choices and decide what to include in your request.
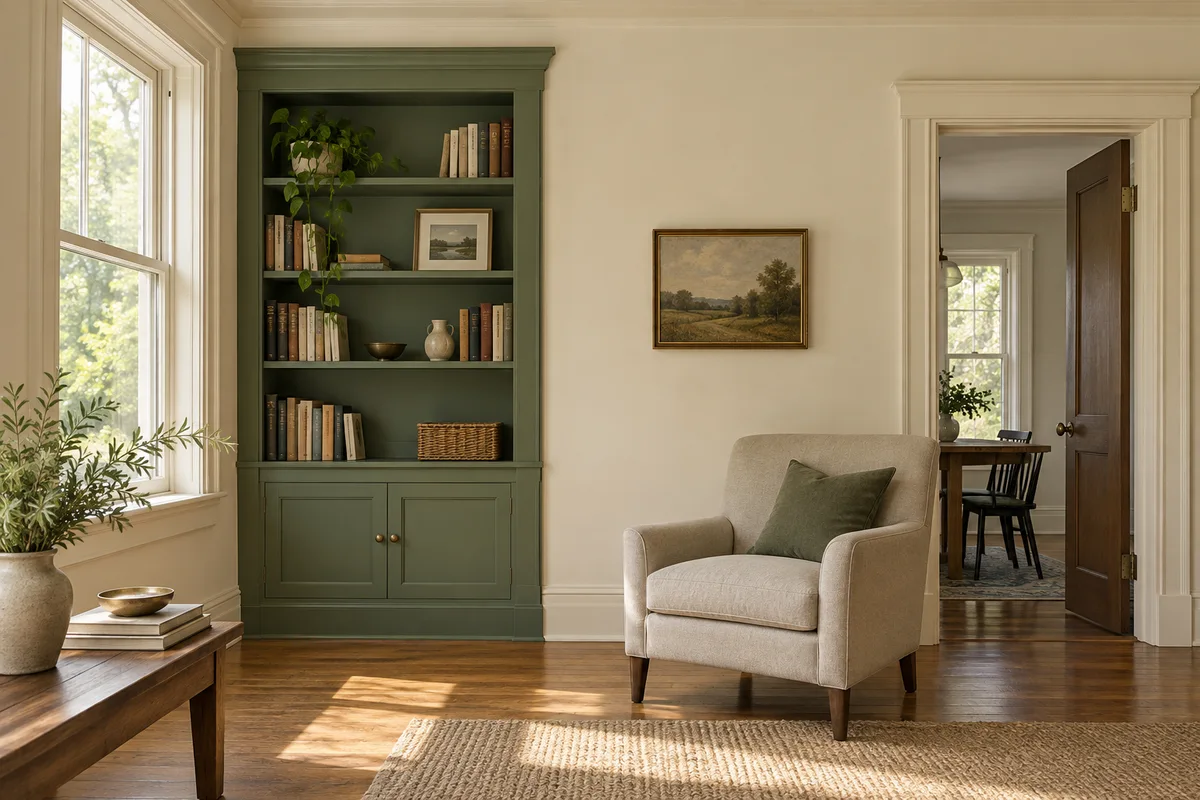
What interior painting costs, by room
Use the following room scenarios to establish a starting budget. They assume ordinary preparation and the listed painting scope. A written quote needs to distinguish wall painting from plaster stabilization, damaged ceilings, wallpaper removal, stained-to-painted woodwork and other separately assessed work.
| Room | Planning time | Walls only | Walls, ceiling and trim scenario |
|---|---|---|---|
| Standard 10×12 bedroom | About 1 day | $450–$750 | $750–$1,150 |
| 14×16 primary bedroom | 1–1.5 days | $650–$1,000 | $1,000–$1,550 |
| 15×20 living or family room | 1.5–2 days | $800–$1,300 | $1,250–$1,950 |
| Kitchen walls around cabinets | About 1 day | $500–$900 | $800–$1,300 |
| Bathroom or powder room | About 1 day | $350–$600 | $550–$900 |
| Stairwell or two-story foyer | 1.5–3 days | $900–$1,800 | $1,400–$2,600 |
These room scenarios and the estimator have different bases: the table describes a general room scope; the tool calculates selected surface quantities from its published research rates. Neither is a measured quote for your home. Our full interior painting prices break out trim, doors and ceilings so you can compare what is included.
Measure one room with us
A 12 × 12 ft room with an 8 ft ceiling has 144 sq ft of floor, but 384 sq ft of wall before openings. Multiplying only the floor area misses the height of the room. Enter the dimensions once; do not multiply them again by the number of coats.
| Surface | Calculation | Quantity | Estimator planning range |
|---|---|---|---|
| Four walls | 2 × (12 + 12) × 8 | 384 sq ft | $575–$1,345 |
| Smooth ceiling | 12 × 12 | 144 sq ft | $140–$360 |
| Baseboards | 2 × (12 + 12) | 48 linear ft | $70–$195 |
| Combined | Walls + smooth ceiling + baseboards | The three lines above | $785–$1,900 |
The instant estimate rounds each displayed component outward to $5 and then adds the components. It uses the full room rectangle at the dimensions step; it does not automatically subtract windows, doors or cabinets. The detailed step accepts actual paintable wall area. Door faces are separate, and the tool’s door-face rate excludes frames and casings.
For the worked example, use a 12 × 12 × 8 room with sound walls, a similar color, no door faces and no extra surfaces. Walls alone give $575–$1,345. Adding a smooth ceiling and baseboards gives $785–$1,900. The calculator’s published research sources and assumptions are available inside its “Pricing sources” panel; this example is a reproducible calculation, not a claimed completed job.
What “Needs review · not priced” means. Choosing Plaster, Mixed or Not sure does not add a plaster surcharge. The number stays the same and the material appears under “Needs review · not priced.” The screen keeps its “Preliminary range” heading; the generated project brief calls the amount “Priced portion only.” Repairs, strong color changes, tall access and other flags are not silently priced into the result. They need their own assessment and scope.
Why two similar-size rooms can cost differently
A room with four sound walls and little trim is different from one with peeling ceiling paint, old glossy woodwork and furniture that has to stay. Ceiling height changes wall area. Detailed baseboards and multiple door faces add surfaces. Repair and protection requirements add work that square footage alone cannot explain. Have dimensions and condition photographs ready for the walk-through so the quote can address both.
Plaster walls vs. drywall: two different prep jobs
Start by separating a cosmetic surface defect from a problem in the wall itself. A stable hairline crack, plaster pulling away from lath and a recurring movement crack are not the same repair. Primer can help a compatible coating bond to a prepared surface; it cannot reattach loose plaster or stop a leak.
| Observation | What needs checking | Scope before finish paint |
|---|---|---|
| Small nail holes or sound shallow patches | Adhesion and smoothness of the surrounding paint | Fill, finish, remove dust and prime as the selected system requires |
| Crack that repeatedly reopens | Movement, attachment and moisture history | Identify the cause before choosing a repair; paint alone will not keep it closed |
| Bulging, loose or sagging plaster | Attachment to its support and risk of falling material | Assessment and stabilization/repair before decoration |
| Drywall joint or corner defect | Tape/bead attachment, fasteners and movement | Repair the underlying joint rather than hiding the line with a heavy coat |
| Soft, stained or damp material | Leak, condensation or other moisture source | Correct the source; assess damaged material and allow suitable drying |
| Peeling existing coating | Which layer is loose and why | Remove or otherwise address the unsound layer; test the intended system |
Older plaster and chalky coatings
Older Leavenworth houses can have plaster beneath several generations of paint or wallpaper. Preserve sound material where possible, and establish how the layers are attached before aggressive preparation. An old doorway crack should not be diagnosed from its shape alone; its history and whether it is changing matter.
A chalky wipe can suggest a problem surface, but it does not conclusively identify calcimine. Rust-Oleum’s GARDZ technical sheet lists calcimine among its uses on appropriately prepared surfaces. Its preparation instructions still require a clean, dry, sound base and removal of peeling or unsound coatings. Sealing over a failing layer does not repair the layer’s bond or the plaster behind it. See the plaster-wall guide for the broader assessment.
Drywall and repaired areas
Drywall repairs need a consistent finished surface as well as a filled hole. Uneven sanding, joint-compound ridges and different absorbency can remain visible after painting, especially under a window’s side light. Check repairs under the room’s actual lighting, remove dust and use the selected primer/paint system. Adding thicker topcoats is not a substitute for correcting the patch.
Before disturbing paint in a pre-1978 home, establish the applicable Kansas lead-safe requirements. Ordinary repainting advice does not replace the required preparation and containment for that work.
Water stains, smoke and mildew: solve the cause first
A stain-blocking primer can address a compatible stain on a prepared surface. It does not repair a leaking pipe, a roof leak or persistent condensation. The order matters: identify the source → correct it → assess and prepare dry, sound material → select the primer → apply the finish.
| Problem | First question | Coating decision after the cause is addressed |
|---|---|---|
| Brown ceiling ring | Is the leak repaired, and is the material dry and sound? | Select a stain-blocking system suited to the stain and surface |
| Smoke or oily residue | What contamination remains after suitable cleaning? | Establish cleaning and stain/odor treatment before selecting finish paint |
| Wood discoloration at trim | Could wood extractives, moisture or an old stain be involved? | Choose stain-blocking and adhesion properties for the actual wood/finish |
| Repeated bathroom mildew | Is moisture being removed, and are affected surfaces clean and dry? | Fix the moisture issue; choose a suitable finish after cleanup |
| Peeling ceiling without a visible stain | Which coating or substrate layer is separating? | Diagnose attachment and compatibility; peeling alone does not identify calcimine |
EPA’s mold-cleanup guidance says to fix moisture problems and clean and dry affected surfaces before painting. A mildew-resistant finish or additive does not replace ventilation, leak repair or necessary cleanup. Large, recurring or concealed problems need appropriate assessment before the decorating work resumes.
For a water stain, have the leak-repair information ready for the walk-through. For smoke or mystery stains, tell us what cleaning or sealing has already been attempted. That history can prevent the same unsuccessful treatment being repeated.
Stained woodwork: keep it, refresh it, or paint it
Decide on the appearance before specifying preparation. Painting original stained trim covers the visible wood and can be costly to reverse. A sound clear finish, matching doors and intact profiles may be worth retaining. Mismatched replacement trim or a deliberate lighter-color plan may favor paint instead.
Keep or refresh: discuss cleaning, local repairs and compatibility with the existing clear finish. A fresh clear coat is not automatically compatible with every old lacquer, varnish, wax or polish. Test the proposed treatment in a discreet area before applying it broadly.
Paint: inspect the existing finish, remove contamination, prepare its gloss as instructed and select the appropriate primer and enamel. Adhesion and stain blocking are separate questions: a primer that bonds to a glossy finish is not necessarily the right answer for bleeding stain or wood extractives. Include door frames, casings, baseboards, stair parts and built-ins individually in the scope.
A rubbing-alcohol spot test can be a clue about an existing coating; it is not a complete identification or compatibility guarantee. Agree on the preparation and a test area rather than treating one household test as permission to coat every surface. Stained-to-painted conversion needs separate pricing; the instant estimator does not model that restoration work.
Trim and doors get a separate finish specification
Trim and doors experience rubbing, hands, cleaning and contact at jambs. Specify an enamel suitable for those uses, the desired sheen and its compatible preparation. A cabinet/trim product such as Emerald Urethane Trim Enamel is a different specification from a wall finish. The product label and data sheet govern when a door can be handled and closed without marking.
Decide whether both faces of a door are included, and list its frame and casing separately. Discuss hardware removal, painting location, wet-door protection and which doors are needed for privacy or security each evening. Rehanging the same day should follow the coating’s handling requirements, not become a promise made before the product and conditions are known.
Contact points deserve attention during the final inspection. A rubbing door needs adjustment, not simply another coat. Avoid pressing bumpers, weatherstripping or stored objects into a fresh finish before the selected system permits that contact.
Ceilings, texture and side light
Flat finishes can soften the appearance of ceiling imperfections, but paint will not level a damaged surface. Inspect the ceiling in daylight and with its normal fixtures on. Low-angle light can expose ridges, patch edges and texture differences that are harder to see looking straight up.
For existing texture, determine whether it is firmly attached and suitable for repainting. Older textured ceilings may require asbestos assessment before disturbance; do not dry scrape or sand an unknown old texture as routine paint preparation. EPA’s homeowner asbestos guidance explains why suspected material should be assessed before work that disturbs it. A painting quote should distinguish repainting intact texture from removal or repair.
Water damage and loose material are dealt with before finish selection. Ceilings, walls and trim should be listed separately so an attractive room price does not hide an excluded ceiling repair.
Sheens and paint lines, room by room
Choose appearance and cleaning needs together. A higher sheen can emphasize dents and uneven patches; a lower sheen can reduce that effect. Washability varies by product, so “satin” alone does not establish how aggressively a wall can be cleaned. Compare the selected product’s care instructions and a sample in your room.
| Space or surface | Useful starting options | What to compare |
|---|---|---|
| Bedrooms and living rooms | Matte or eggshell | Appearance in side light, touch-up expectations and the product’s cleaning limits |
| Hallways and kids’ rooms | Washable matte, eggshell or satin | Resistance to routine cleaning without unwanted gloss changes |
| Kitchen walls | A washable wall finish | Grease cleaning, splash areas and existing stains; cabinets need their own system |
| Bathrooms | A finish suited to the room’s moisture conditions | Ventilation and drying between uses as well as the coating |
| Ceilings | Flat or another finish selected for the room | Texture, surface defects and moisture exposure |
| Trim and doors | Suitable enamel in the desired sheen | Handling, blocking/contact resistance and cleaning instructions |
Brand families such as Emerald, Duration and SuperPaint contain different products and sheens. Compare the exact interior product, not just the family name. The quote should identify the line and sheen for each surface, and whether a separate primer is required. No product name by itself guarantees two-coat coverage over every color change or stained surface.
Look at larger color samples in morning light, evening light and under the lamps you actually use. Keep the sample vertical on the intended wall. A room with strong reflected outdoor color or a dark floor can look different from the store display. Agree on the final color and sheen before the full coating begins.
How we work in an occupied home
Interior painting should come with an access plan as well as a color plan. Decide which rooms are priorities, where furniture can move, who handles fragile items and how children and pets will stay clear of preparation and wet surfaces. Work on one room can affect the hallway or doorway needed to reach another.
- Map the sequence. Identify work-from-home space, sleeping rooms, bathrooms and necessary routes. Set the order of rooms before protection goes down.
- Separate protection and storage. Agree on furniture movement, floors, electronics, curtains and fragile belongings. Empty the surfaces and cupboards included in the scope.
- Plan dust and ventilation. Preparation methods and the product safety instructions determine protection and ventilation. An ordinary vacuum is not a substitute for the controls required for lead work.
- Agree on daily access. Identify which rooms and doors can be used at the end of each day. Surface-dry paint does not by itself establish that a room is ready for every occupant or activity.
- Review the finish and care. Inspect the agreed surfaces, list touch-ups and keep the color, product, sheen and cleaning directions together.
Tell us about sensitivities, occupancy constraints and ventilation limitations before the job is scheduled. There is no single safe “return tonight” rule for every coating, preparation method and household. Follow the selected product’s safety instructions and the actual site plan.
How long an interior takes
The planning windows are about one working day for a straightforward bedroom, 2–3 days for three rooms and 5–8 working days for a roughly 1,800 sq ft interior. These assume a manageable repainting scope. Drying, repairs, access, moving belongings and difficult color changes can extend the sequence.
A plaster repair is not automatically ready the next morning: the repair material, thickness and conditions control when it can be finished and coated. A dark-to-light change may need a different primer or additional coating work. Set those expectations in the written scope, then distinguish work completion from the finish’s cleaning/cure instructions.
What a customer said about their interior
“360 painting did a great job painting the inside of our house. They worked around my schedule and got it done quickly.” — Bill Morgan, Google review
Excerpt from our regional painting team’s Google profile; reviews cover its wider service area. Review source and date checked.
Read the review source and more customer excerpts.
Interior painting questions
How much does it cost to paint a room in Leavenworth? The room scenarios above are starting budgets. The reproducible 12 × 12 × 8 example gives $575–$1,345 for walls or $785–$1,900 with a smooth ceiling and baseboards. A measured quote includes the actual condition and agreed repairs.
Can we stay in the house while you paint? Often, with an agreed room sequence, protection, ventilation and access plan. Tell us which spaces must remain available. Return-to-use depends on the products, preparation and household needs; it should not be assumed from a surface feeling dry.
Why do the cracks in my plaster keep coming back? The underlying movement, attachment or moisture issue may still be present. Filling and painting alone cannot resolve every cause. Check the crack’s history and wall condition before selecting the repair.
Does selecting plaster increase the instant estimate? No. It adds plaster under “Needs review · not priced” while keeping the dollar range unchanged. The generated brief labels the calculated amount “Priced portion only.” No automatic plaster-repair allowance is added.
Can a stain-blocking primer fix a water stain? It can help isolate a suitable stain after the cause is repaired and the material is dry and sound. It does not stop the water source or restore damaged drywall or plaster.
How soon can I hang pictures or clean the walls? Use the exact finish’s handling and cleaning instructions. Furniture contact, hanging objects and washing are different demands on a fresh coating; touch-dry is not full cure.
Interior decisions in more detail
- Choose sheen for the room and the wall: compare lighting, cleaning and repair appearance.
- Plan painting over stained trim: separate adhesion, stain blocking, grain and the surfaces included.
- Understand touch-up flashing: decide when a limited repair or a complete wall repaint is the clearer scope.
- Assess old plaster before painting: distinguish cosmetic preparation from moisture and attachment repairs.
Plan the rest of the project
Not ready to talk yet? Start with the complete house-painting planning guide. For connected work, see cabinet painting, historic-home painting and how to compare a painting quote.