
PAINTING GUIDES · LEAVENWORTH
Painting stained trim: compatibility, grain and scope
Leavenworth Painting · Updated October 28, 2026
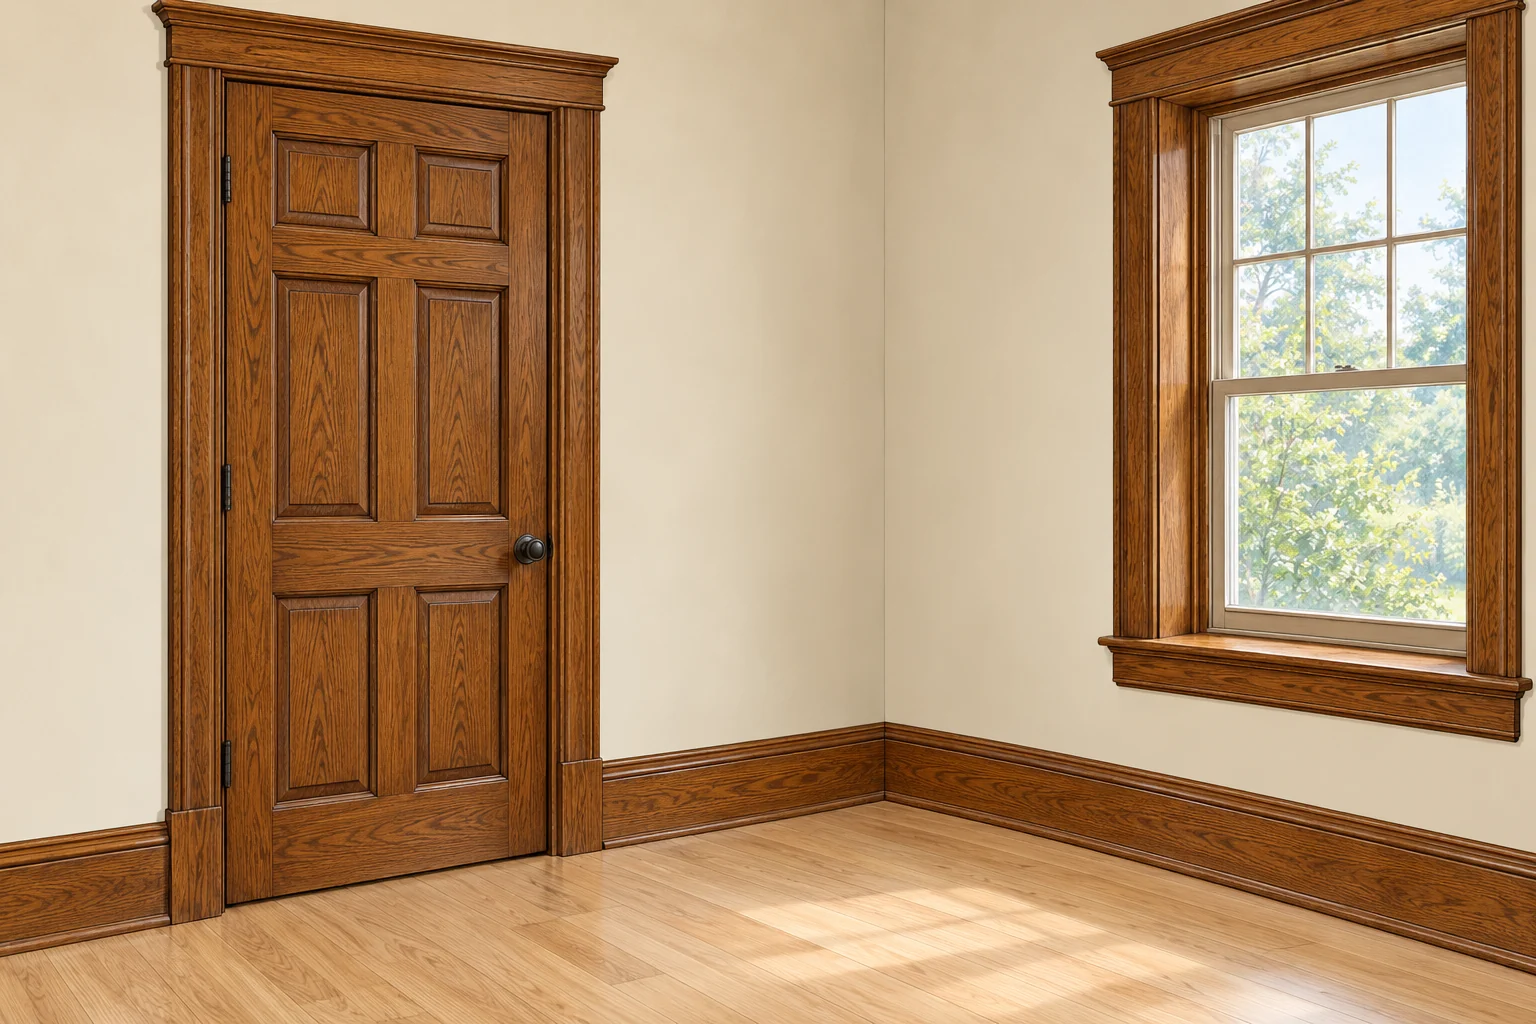
Stained interior woodwork can often be painted when the wood and existing finish are sound and a compatible preparation, primer and enamel are selected. The decision is not simply whether paint can cover the brown color. It is whether the new system will adhere, whether stains will bleed, what texture will remain and whether covering the wood is the result you want.
Baseboards, door casings, window trim and doors also need to be counted separately from wall painting. Use this guide to describe the work before requesting an interior painting quote, especially when the woodwork will be changed from a clear finish to an opaque color.
Decide what should stay stained
Walk through the connected rooms before selecting a white or colored enamel. A single painted casing can change how the adjoining door, floor, stair or built-in looks. Decide whether the project includes all the woodwork in one room, a connected group of rooms or only selected pieces.
Original woodwork may also be an important part of a historic interior. A sound clear finish can be a reason to consider cleaning or conservation before covering it. Painting and returning to visible wood later are different projects; the later work can involve substantial removal and may not restore the original appearance. For an older Leavenworth home, include the trim in the historic-home assessment rather than treating it as an automatic extension of wall painting.
Record the stopping points: both faces of a shared door, the inside edge of a doorway, a stair landing or the face of a built-in. A written boundary avoids an awkward decision halfway through the work.
Identify the surface that the primer will touch
Stain changes wood color, but a clear finish may sit over that stain. The next coating has to adhere to the exposed surface that remains after preparation. That could be a clear film, an old repaint, bare repaired wood or a mixture of them.
| What the assessment finds | What it changes |
|---|---|
| Sound glossy clear finish | Preparation and bonding to the retained finish |
| Worn finish at handles or window stools | Whether the surrounding coating is stable and how bare areas are treated |
| Grease, polish, wax or cleaner residue | A compatible cleaning method before coating |
| Dark knots or persistent discoloration | Whether a stain-blocking system and test area are needed |
| Missing pieces, loose joints or damaged profiles | Repair scope before appearance decisions |
| Peeling old paint over the wood | Identification and removal of unsound layers, with appropriate old-paint precautions |
A solvent spot test may supply a clue, but it does not establish every layer in a long coating history. Ask for a preparation decision based on the actual surface and a suitable test area. The Sherwin-Williams hard, slick surface guidance explains the adhesion problem and the need to remove contamination and prepare a sound surface before recoating.
Bonding and stain blocking are different requirements
A new coating can adhere well and still show a stain. It can also hide a dark surface at first while failing to bond properly. The primer must be selected for the problem found, and the proposed enamel must be compatible with that primer.
The B-I-N Shellac-Base technical sheet is one example: it lists interior woodwork and stain-blocking uses, but still requires clean, dry, sound material and removal of unsound coatings. Its preparation directions also exclude TSP as a cleaner. Even a familiar primer name does not justify borrowing a preparation recipe from another system.
Ask the estimator to name the intended primer and the reason for it. If there are both slick clear-coated areas and bare or stained repairs, ask how each is treated. Keep “bonding,” “stain blocking” and “grain filling” separate in the conversation; one label does not establish all three.
A test area should use the intended preparation, primer and finish, with the time required to assess the result. It should address both attachment and bleed-through. A quick wet swipe of the final color is a color sample, not a full-system test.
Does every piece have to be stripped to bare wood?
Not every sound clear finish requires complete removal before painting, and not every existing finish is safe to keep. The extent of removal depends on adhesion, condition, contamination and the selected system. Ask the proposal to describe the endpoint: what sound material or coating remains after preparation?
Detailed profiles and thin veneer make aggressive removal a different risk from preparing a broad solid-wood board. The aim is a suitable base while retaining the desired shape and detail. Avoid approving “sand everything” without a description of what that means for the particular trim.
On older painted surfaces, resolve the lead-safe preparation questions before sanding or scraping. EPA’s renovation guidance identifies paint disturbance in pre-1978 housing as a regulated concern, with defined exceptions. Kansas has its own program; the local lead-paint guide explains what to ask. The visible top layer does not establish the history of everything underneath it.
Agree on grain, joints and the final sheen
Opaque paint changes color but can leave wood texture visible. If the trim is oak, decide whether the grain is part of the result or whether additional filling belongs in the scope. The painted-oak guide explains sample acceptance; the same appearance questions are useful when looking at oak casings or a built-in.
Joints between pieces are separate from grain pores. Discuss which gaps will be repaired, which joints can move and how the proposed materials suit that location. Filling a moving joint is not the same as correcting a loose trim board.
Compare the intended enamel in the room’s lighting. Satin and semi-gloss can create different contrast against the walls, but the sheen name alone is not an exact cross-brand match. Use the interior sheen guide to coordinate walls, ceilings and woodwork without forcing all of them into one finish.
Count doors, trim and access separately
A wall-painting estimate may exclude door casings, window trim, crown, railings and stained-to-painted conversion. Do not infer that “trim included” covers every piece of wood in the room.
| Item to list | Detail that makes the scope comparable |
|---|---|
| Baseboards | Approximate length, height, profile, shoe molding and furniture access |
| Door casings | Openings and sides included; returns and adjacent trim |
| Doors | Number of faces, edges, panels, hardware and removal/reinstallation |
| Window trim | Casings, stools, aprons and any operable components in scope |
| Crown and decorative molding | Height, profile and access requirements |
| Built-ins | Fronts, interiors, shelves, backs and contact surfaces |
Confirm how hinges, latches and other hardware are handled, and how doors remain usable while the coating develops. Door fit and rubbing should be identified before adding another coating layer. Occupied rooms also need safe routes and a plan for furniture and belongings while preparation and finishing are underway.
Keep the estimator and the written trim scope distinct
The website’s interior estimator includes planning allowances for baseboards and door faces. It does not automatically calculate stained-to-painted conversion, door or window casings, crown molding, extensive repairs or specialty access. A room total cannot be treated as a quote for all of this woodwork.
Prepare an inventory using the table above, then use the quote-comparison worksheet to record what each proposal includes. Keep wall painting, woodwork conversion and any carpentry as identifiable parts of the project, even if one contractor coordinates them.
At handover, retain the product, sheen, color, application date and care instructions. Confirm the difference between careful handling and normal cleaning, and how to report a rubbing door or visible stain. Product-specific guidance is more useful than a blanket overnight return-to-use promise.
For the surrounding rooms and other finish decisions, explore the painting guide library.